Eventmanagement #
Overview #
Just click “Event-Admin” in the top navigation bar.
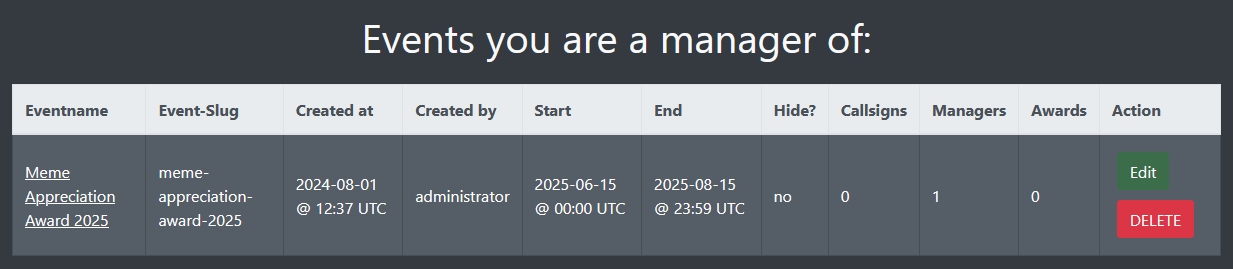
If you open this the first time, you’ll only see this:

Add new event #
Click on the “Create Event” in the top navigation bar to reveal the creation dialogue:
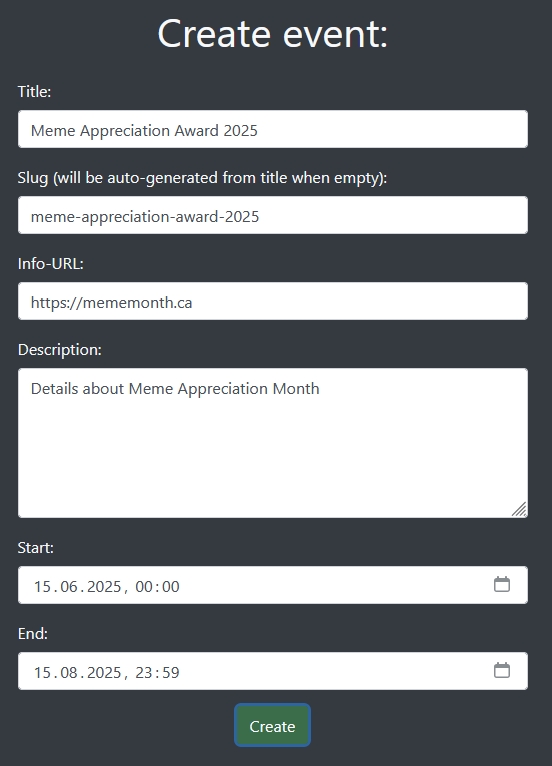
The following options can be entered:
- Title: Title of your event - will be shown in the event selector on the front homepage. Must be unique inside the software, so if you like to run your event for multiple years, include the year in the title to be safe.
- Slug: How the event will be called in the URLs created by hamawardz. Must also be unique, just as the title. If you leave this empty, hamawardz will try to create one from the title.
- Info-URL: Does your event have a homepage? Enter that one here.
- Description: Tell the hamawardz users something about your event.
- Start: Start of the event in UTC.
- Start: End of the event in UTC. To run the event “open end”, choose a date a long time in the future, like 2099-12-31 23:59 UTC.
Click “Create” and done!

Return to the overview afterwards:
Edit Event #
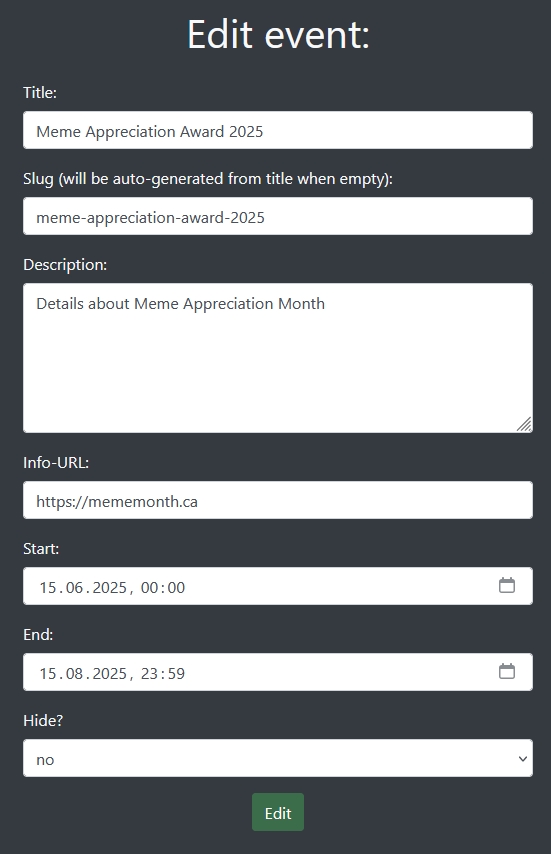
Enter the edit dialogue by clicking the “Edit” button on the overview page.
Event data #
First, you can edit your event data again. New on the edit page is the “hide” option to hide the event from the selector on the front page.
Event managers #
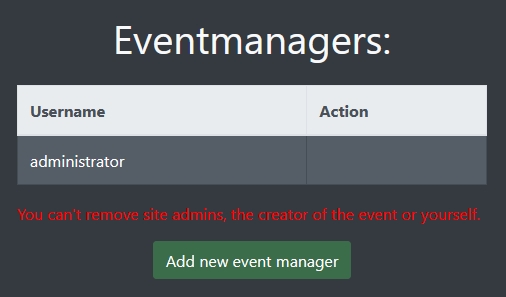
If you scroll further, you can see a list of all event managers of this event. By default, the user creating the event will be in there.
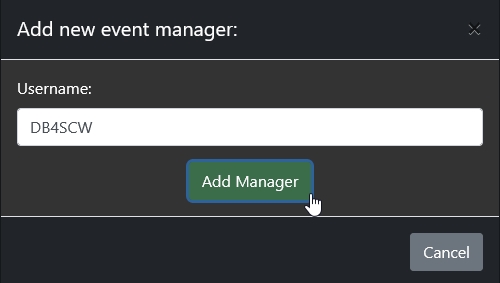
After clicking “Add new event manager”, this dialogue opens up. Just type in the username of the user you want to add and click “Add Manager”.
The new user will now show up in the list:
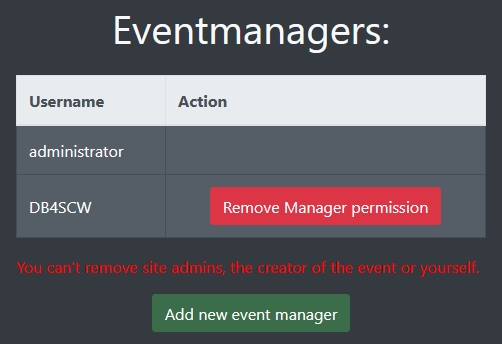
If you want to remove permission to be an event manager, just click the corresponding button beside the username. As clearly stated in red, you cannot remove site-admins (superusers), the creator of the event, or yourself.
Participating callsigns #
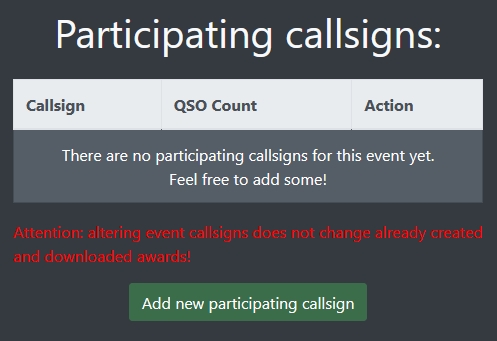
Next option is a list of all participating event callsigns. On a freshly created event, this will be empty.
After clicking “Add new participating callsign”, this dialogue opens up. Just type in the event callsign you want to add and click “Add Callsign”. Attention: If you have not yet created any event callsigns, this will fail. Please create the event callsigns first, following this part of the documentation
If you added the callsign successfully, it will show up in the list:
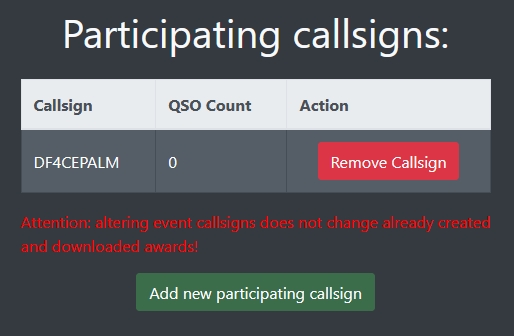
You can remove callsigns from the event at any time by clicking the remove button next to the callsign, but please be aware of the red text: If someone has already downloaded an award based on QSOs with that callsign, removing it will not do anything other then preventing FUTURE applicants to use those QSOs for their awards.
Award tiers #
Next integral piece to edit is the list of award tiers. On a freshly created event, this will be empty.
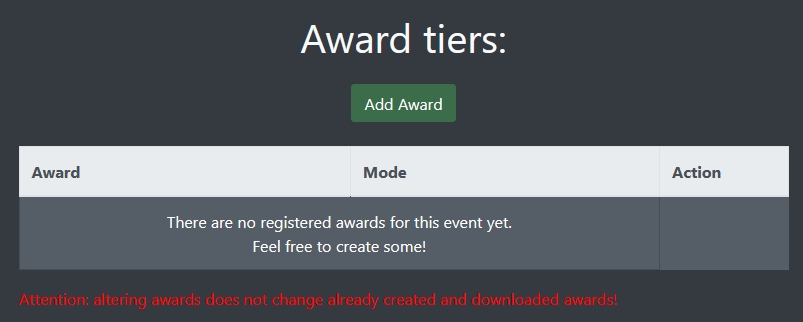
Adding a new award or editing existing awards will be covered in this part of the documentation.
Please be aware that if you edit or remove any award after your event starts an QSOs have already been uploaded, this will not do anything other then change the rulesets or printing configuration for FUTURE applicants to these awards.
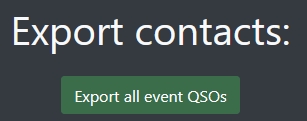
Export QSOs #
You can export all uploaded QSOs that match the events callsigns and timeframes here. This will download a CSV file. You can use this for doing data analysis in a spreadsheet program of your choice.